Every home cook has faced that stubborn batch of rotis: dry, stiff, and nothing like the cloud-soft flatbreads you crave. Getting soft dough is at the heart of making rotis that puff up and stay tender long after they come off the tawa. If you're tired of fighting with tough dough or guessing at the right water-to-flour ratio, you're totally not alone.
The secret isn't some mysterious ancient mantra—it's a few simple habits you can pick up right now. It starts with picking the right kind of flour and gets down to how you add water, knead, and even how long you let the dough sit. Each step matters. Miss just one, and you’ll feel it in the final result.
If your rotis are coming out less than ideal, chances are high that your dough was either too dry or not kneaded enough. But it’s not just about adding more water; there’s a knack for getting the right texture. Get ready to unlock soft dough, because once you do, you’ll never go back.
- Why Soft Dough Matters
- Choosing the Right Flour
- Water: How Much and When
- Kneading the Dough
- Resting Time: The Underrated Step
- Bonus Tricks for Softer Rotis
Why Soft Dough Matters
If you’ve ever bitten into a roti that’s tough or chewy, you know the letdown. The difference between a soft, pillowy roti and a hard one starts way before you hit the hot pan—it's all about how you handle the dough. Getting that perfect, soft dough is where things really take shape.
Here’s what soft dough really changes:
- Texture: Soft dough traps more moisture, so the roti stays tender and bendy, not stiff or dry.
- Puffing: When the dough is right, steam can form better inside the roti as it cooks, making it puff up beautifully. This means it cooks evenly and doesn’t get leathery.
- Freshness: Softer dough means rotis stay soft for longer, even after cooling. That’s why leftover rotis from good dough don’t feel like cardboard the next day.
It’s not just kitchen opinion—lots of families track the difference. Here’s a quick comparison of batch results based on dough quality:
| Dough Type | Puffing Rate | Minutes Soft After Cooking | Review |
|---|---|---|---|
| Too Dry | 10% | 2-5 | Stiff, tears easily |
| Just Right | 90% | 30+ | Soft, bends easily |
| Too Wet | 40% | 10 | Sticky, doesn’t roll well |
If you’re hosting a meal, nobody gets excited about tearing into a roti that feels like a tortilla chip. Taking those couple extra minutes for good dough pays off all dinner long.
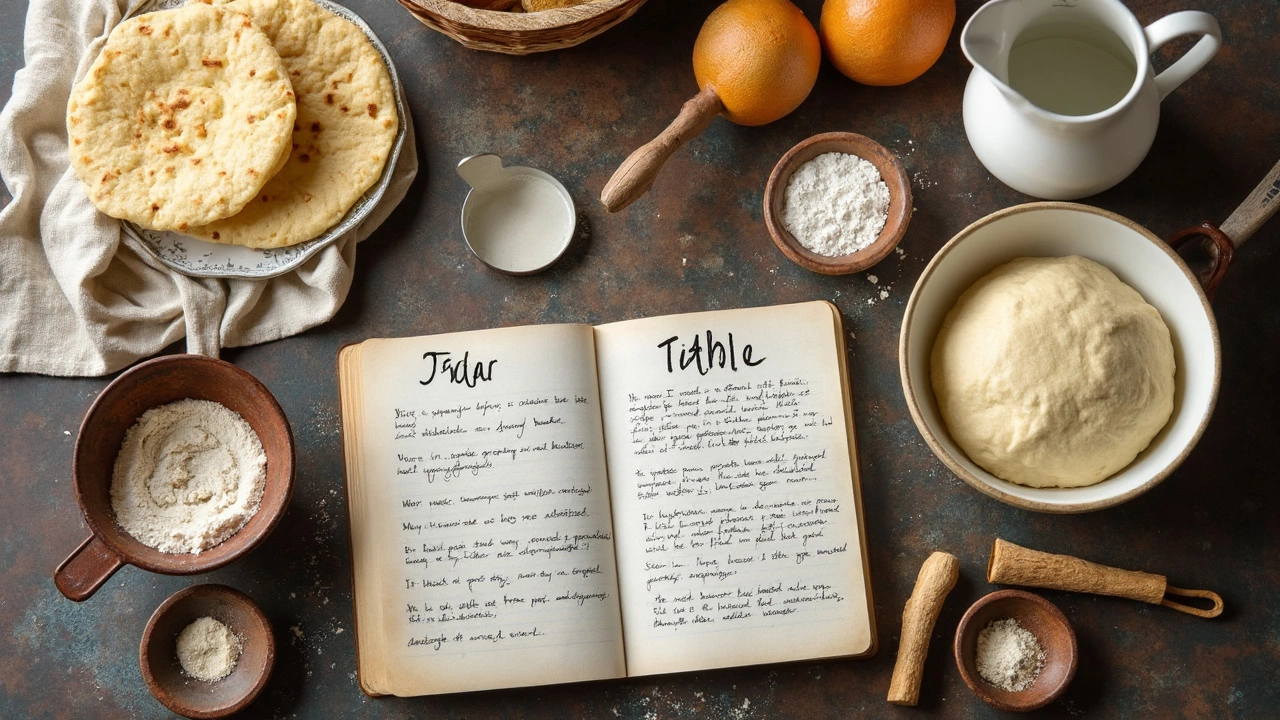
Choosing the Right Flour
Your choice of flour is a game-changer for making soft dough. If you grab just any flour off the shelf, you're gambling with your rotis. For classic, pillowy rotis, the standard is atta—whole wheat flour milled especially for Indian breads. Regular all-purpose flour, or maida, won’t cut it for texture or taste.
Good atta is typically stone-ground and has higher protein and fiber content than Western-style whole wheat flour. It’s finer, has a lighter color, and absorbs water more evenly, which means less effort for you when kneading. Most supermarkets even stock brands labeled "chakki atta"—go for those over generic or all-purpose types.
Curious about what’s in your flour? Check the back of the pack. Here’s a quick compare of popular flour types:
| Flour Type | Protein (%) | Texture | Best For |
|---|---|---|---|
| Chakki Atta | 10-12 | Fine, powdery | Rotis, chapatis |
| All-purpose (Maida) | 9-11 | Very fine, bleached | Cakes, pastries |
| Western Whole Wheat | 13-15 | Coarse, rough | Breads, rolls |
Stick to atta for softer dough. The higher fiber and absorbency mean you’ll use a bit more water, but you’ll get make rotis that are supple and not tough. If your atta feels gritty, sift it before using—sometimes bits of bran sneak in and mess with the softness.
A quick pro tip: Mix in a tablespoon of all-purpose flour or even chickpea flour (besan) if you like, but don’t swap out more than 10% of the total. Too much, and your dough loses that classic roti bite. Trust the science and your taste buds will thank you.
Water: How Much and When
Water is where things usually go sideways in soft dough making. If you dump too much water in at the start or don’t add it at the right time, you risk ending up with sticky or dry dough. For making roti, the magic number is generally about 60-65 ml of water for every 100 grams of whole wheat flour. But—here’s the twist—the amount can change based on the flour brand, the weather, or even the temperature of your hands.
| Flour (grams) | Recommended Water (ml) |
|---|---|
| 100 | 60-65 |
| 200 | 120-130 |
| 500 | 300-325 |
Start slow. Pour just half the water into your flour and mix gently. You want to incorporate it bit by bit, which gives you more control. When you see most of the flour looks crumbly but hydrated, start adding the rest of the water in small splashes. Your hands are your best tools—feel for a dough that is neither sticky nor stiff. It should feel soft and bounce back just a little when poked.
- If you’re cooking in a humid kitchen, pull back a little on the water.
- Cold flour soaks up less water—so keep that in mind if you’ve just pulled it from the fridge.
- Using warm water isn’t just grandma’s trick. Warm water helps gluten develop quicker, making the dough softer and easier to knead.
Hold off adding any more water until you’ve kneaded for a couple of minutes. Sometimes the dough needs a minute to soak up what you’ve added. If things still seem tough or crumbly after two minutes, add one teaspoon of water at a time—don’t go overboard or your dough will turn sticky fast.
There’s no perfect measuring cup for dough, but if you use this gradual approach and pay attention to texture, you’ll hit the mark every time.
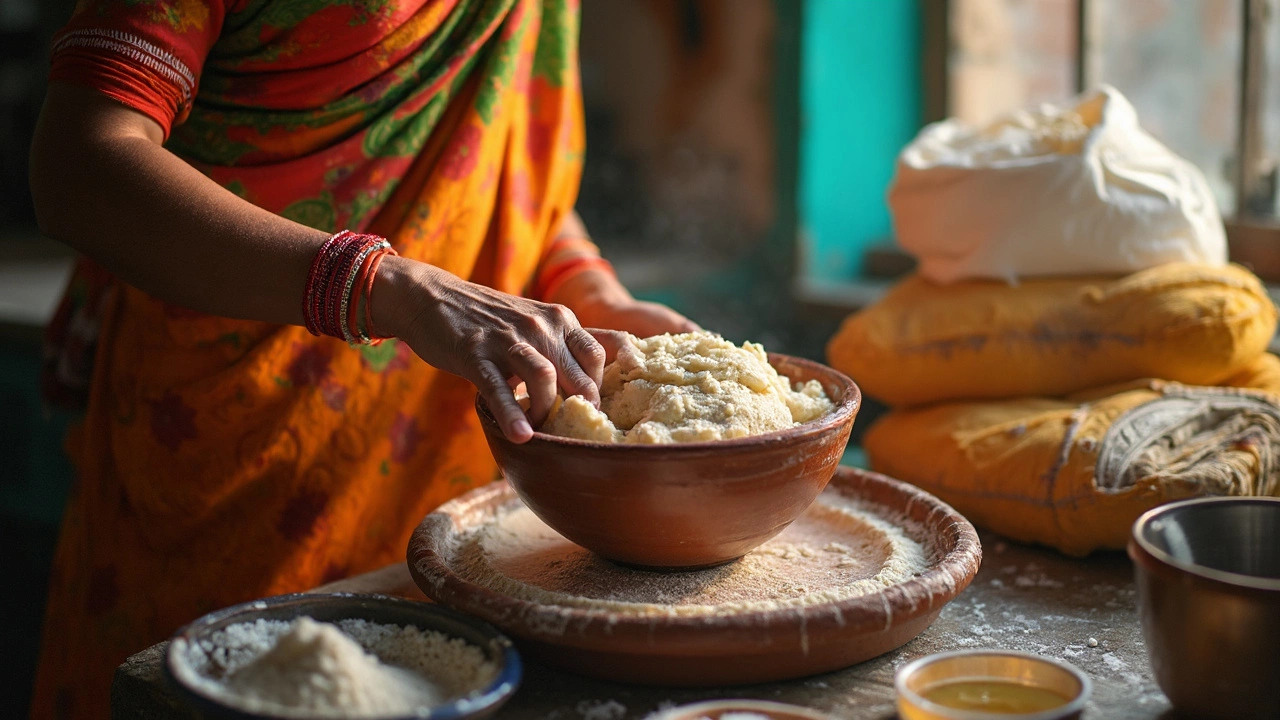
Kneading the Dough
Kneading is where the magic happens. If you’ve ever wondered why your rotis come out chewy or don’t puff, chances are the kneading part needs a little TLC. When you knead properly, you’re building the gluten network inside the dough, which gives your rotis their signature soft, elastic feel.
Start by adding water little by little. Just dumping it all in at once can make the flour clump and form awkward lumps. Use one hand to mix and press. Once the dough comes together and isn’t sticky, keep working it for at least 8 to 10 minutes. Set a timer—it’s longer than you think! The more you knead, the smoother and softer your dough will be, making a big difference in the final roti.
- Use the base of your palm to press and stretch the dough, then fold it over itself and repeat. This motion creates the right structure.
- If the dough feels sticky after a few minutes, sprinkle a spoon of dry flour. If it’s stiff, dab in a little more water.
- Knead until the dough surface looks smooth and bounces back if you poke it gently.
Here's a quick rundown of kneading times and results:
| Kneading Time | Dough Texture | Roti Result |
|---|---|---|
| Less than 5 mins | Rough, uneven | Hard, dry |
| 5-8 mins | Some smoothness | Edible, but not really soft |
| 8-10 mins | Smooth, elastic | Soft dough, pillowy rotis |
One last tip—warm water (not hot!) works better than cold, making your kneading easier and your dough softer. Seriously, just give it a try and see how much of a difference it makes, especially if you live somewhere chilly. This is a game changer you don’t want to skip.
Resting Time: The Underrated Step
If you’re skipping the resting phase, you’re basically missing out on the easiest hack for unbelievably soft dough. Resting lets the gluten in the dough relax, which turns a stiff, hard-to-roll lump into a soft, stretchy dream. Seriously, this one step can turn your roti game around.
Here’s how it works: after kneading, cover your dough with a damp cloth or plastic wrap. The damp cloth keeps the surface from drying out while the magic happens inside. Let it sit for at least 20 to 30 minutes. Some folks even swear by an hour for the ultimate pillowy softness, especially if they’re making a big batch. If you’re in a hurry, never go under 15 minutes—it just won’t be the same.
- Resting time lets water fully absorb into the flour, making the dough smoother.
- It gives the gluten a break, so your dough rolls out easily and cooks soft, not chewy.
- If you want to prep ahead, you can rest the dough in the fridge for up to 6-8 hours, but always let it return to room temperature before rolling.
Here’s a quick breakdown to help you pick the best resting time for your needs:
| Resting Time | Dough Texture | Best For |
|---|---|---|
| 15 mins | Decent, slightly tough | Quick weekday rotis |
| 30 mins | Soft, easy to roll | Regular family meals |
| 1 hour | Pillow-soft, super smooth | Party or special occasions |
| 6-8 hours (chilled) | Very soft, flavorful | Meal prep or big batches |
The crazy part? Even busy restaurants rely on this, making dough in big batches early just to take advantage of that unbeatable softness. And if you’re aiming for the soft dough that makes rotis the star of the table, don’t skip the rest. Your future self (and your family) will thank you.
Bonus Tricks for Softer Rotis
So you’ve nailed the basics, but your roti still doesn’t match that restaurant-level softness. Let’s get into some real-life game-changers that don’t always make it into cookbooks.
- Milk Isn’t Just for Tea: Swap part of your water with warm milk while mixing the dough. Even adding just 2–3 tablespoons of milk gives rotis a noticeably softer texture and a richer taste.
- Yogurt Magic: Mix a tablespoon of plain yogurt into your dough. This adds both moisture and stretch, and helps the dough relax. It’s a trick a lot of seasoned home cooks swear by, especially for parathas too.
- Oil at the End: Drizzle a teaspoon of oil over your kneaded dough and knead for another minute. This little step locks in moisture and keeps the surface from drying out.
- Cover Right: Rest dough under a damp cloth, not just any cloth. Dry cloths let moisture escape, which defeats the whole purpose. A covered dough stays hydrated and puffs better on the tawa.
- Battle the Climate: If you live in a dry region, your dough loses moisture fast. Mix in an extra splash of water, and don’t hesitate to re-knead with wet hands if it starts feeling dry after resting.
And if you want numbers to back up these tips, here’s a quick cheat sheet based on kitchen trials using different tweaks to the dough:
| Bonus Add-In | Average Softness Score (1-10) | Notes |
|---|---|---|
| Water only (standard recipe) | 6 | Soft when hot, hardens quickly |
| Milk + water | 8 | Stays soft for hours |
| Yogurt + water | 9 | Maximum softness, best for next-day rotis |
| Oil added at end | 7 | Smoother dough, less cracks on rolling |
Honestly, don’t be afraid to experiment with these tricks. Your kitchen, your rules. Small tweaks can level up your soft dough game and make you everyone’s favorite roti-maker.