
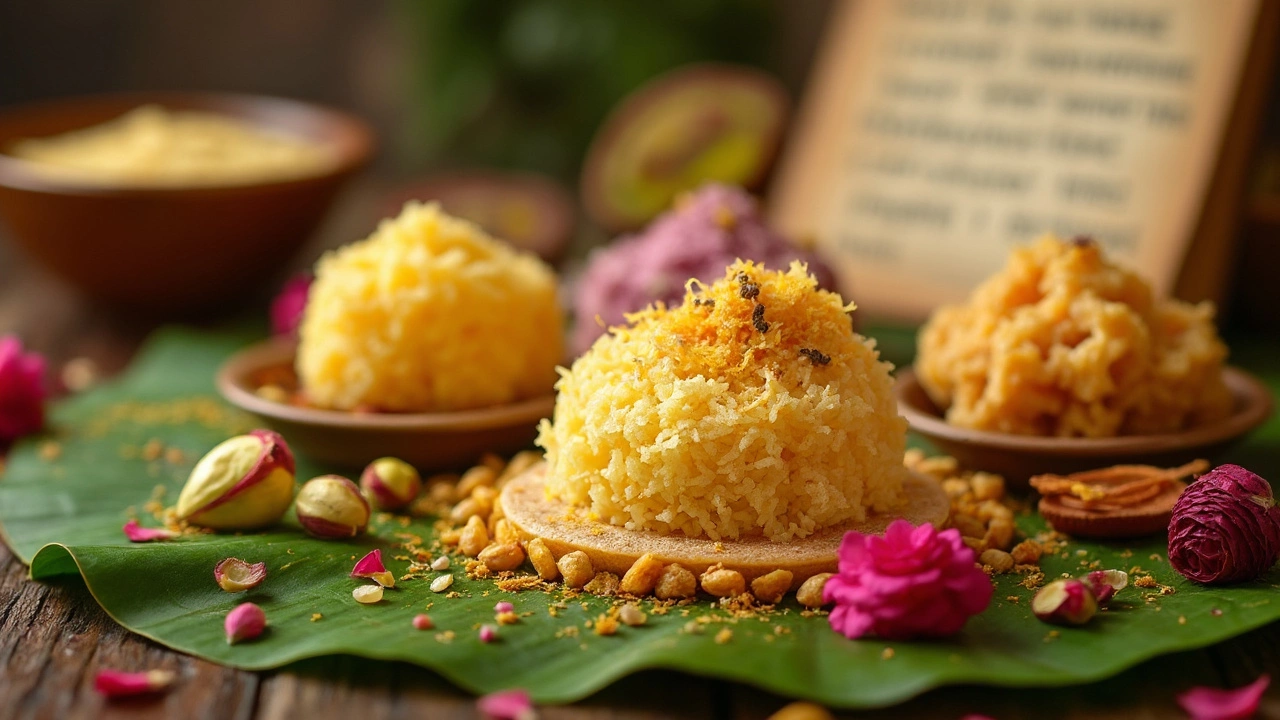
Every time my daughter Nisha and I walk past a mithai shop, she points at the colorful stacks—gulab jamun, barfi, rasgulla, laddoo. She always asks, “What’s in these that makes them taste so rich?” Spoiler: it’s not just sugar. Most Indian sweets are built around a quiet hero—milk. Sure, there’s sugar, ghee, nuts, and flour, but milk (and its cousins, like khoya and paneer) forms the base for all the classics.
If you’ve ever wondered why a peda feels creamy or a rasmalai is so soft, that’s milk in action. Different regions twist this base with unique touches, but milk hangs around in some form, whether boiled, curdled, or simmered till thick. Knowing this makes it way easier to try your hand at mithai at home—you don’t need fancy ingredients. Just fresh milk and patience.
- The Heart of Indian Sweets: Core Ingredient Revealed
- Why Milk Matters: Types and Tricks
- Sugar: Friend, Foe, and Flavor Booster
- Hidden Players: Flour, Fats, and More
- Tips to Nail the Perfect Mithai at Home
The Heart of Indian Sweets: Core Ingredient Revealed
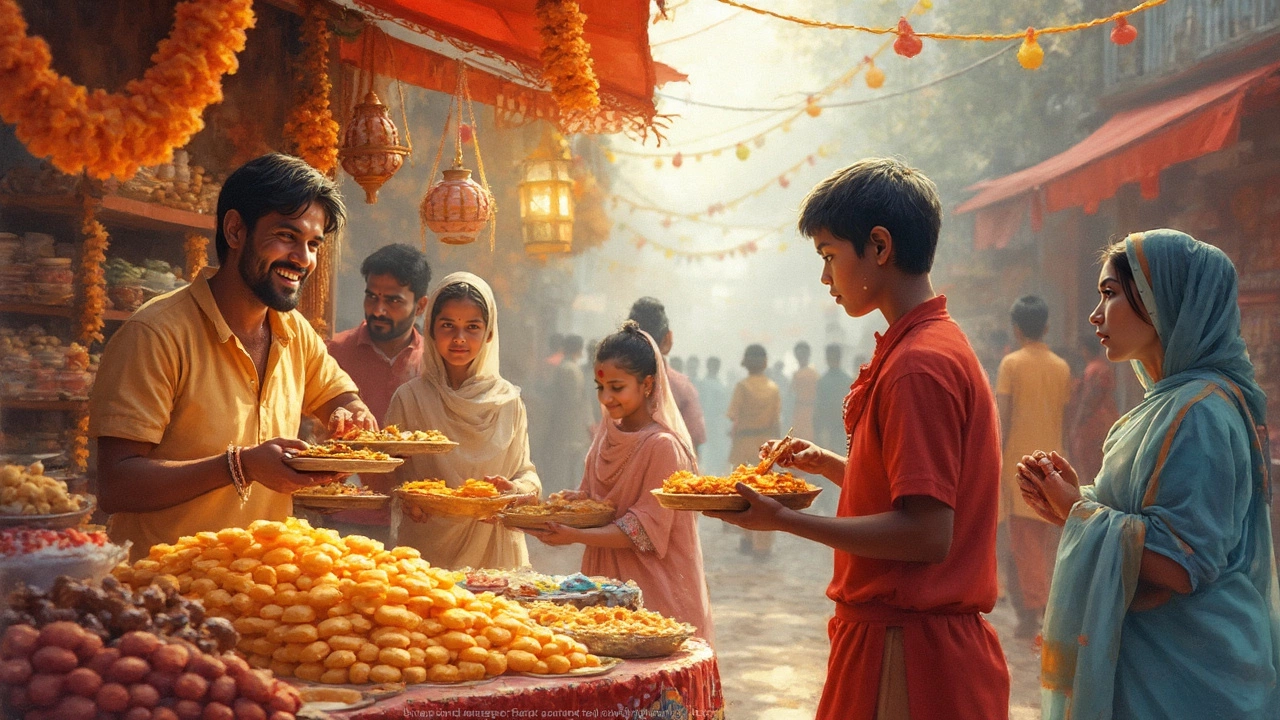
Walk into any Indian neighborhood during festival season and you’ll smell sweets being made all around. But here’s what folks sometimes miss—almost every famous mithai starts with milk or a milk-based ingredient. It’s the backbone of Indian desserts, not just a supportive extra.
Most classics like barfi, peda, rasmalai, and sandesh start with milk that's cooked down to make khoya (dried milk solids) or chhena (fresh paneer). Even sweets like kheer and rabri use milk as the base, simmered until it thickens and gets naturally sweet. If you scan any mithai counter, you’ll notice the creamy texture and richness – that’s all thanks to milk.
Here’s a quick look at some of the most popular Indian sweets and their main milk ingredient:
| Mithai Name | Key Milk Ingredient |
|---|---|
| Gulab Jamun | Khoya |
| Rasgulla | Chhena |
| Barfi | Khoya or condensed milk |
| Rasmalai | Chhena |
| Peda | Khoya |
| Kheer | Milk |
Why is milk such a big deal in Indian sweets? It’s simple—milk is affordable, nourishing, and easy to find in India. Once you remove the water from it (that’s basically what khoya is), you get a rich, dense base that soaks up flavor and holds its shape. Plus, it’s super versatile. Whether you want something chewy like peda or melt-in-your-mouth like rasgulla, milk can be teased into almost any texture with the right method.
Of course, sugar joins the party, but most mithai would flop without milk at the center. Next time you're picking a sweet at the shop, look at the label. Odds are the main ingredient is milk or a milk-based product, steering how that treat tastes, feels, and even smells. Understanding this gives you serious power when trying to recreate mithai at home—you know where to start, and you know what to never skimp on in your recipe.
Why Milk Matters: Types and Tricks
You can’t talk about Indian sweets without shining the spotlight on milk. It’s not just the most common base—it’s what gives sweets like rasgulla, peda, kalakand, and rabdi their signature taste and feel. So it’s not shocking that almost 80% of classic mithai starts with milk or some thickened, curdled form of it.
The secret sauce is knowing which type of milk product to pick. Here’s a handy cheat sheet:
- Full-fat Milk: Boiled to make condensed milk or rabdi—important for a creamy mouthfeel in barfi and payasam.
- Khoya (Mawa): Milk simmered and reduced for hours until it’s semi-solid. Adds richness to sweets like peda and gulab jamun.
- Paneer (Chenna): Freshly curdled milk (using lemon juice or vinegar), drained and squeezed. This is the base for Bengali sweets like rasgulla and sandesh.
- Evaporated or Condensed Milk: Cuts down cooking time. Useful when you're tired or in a hurry; works great for instant peda and barfi recipes.
One thing I’ve learned after a few ruined batches—stick to full-fat milk. Skimmed or toned milk just doesn’t cut it. The fat is key for texture. If you’re using khoya, buy from a place with fast turnover, or better yet, make it at home. It’s slow, but the taste is on another level.
Here’s a little comparison to keep things clear:
| Milk Product | Best For | Fat Content | Main Use |
|---|---|---|---|
| Full-fat Milk | Rabdi, Basundi | 3.5-4% | Base for thickening/boiling |
| Khoya | Peda, Barfi | Up to 30% | Rich, dense sweets |
| Paneer/Chenna | Rasgulla, Sandesh | ~25% | Soft, spongy sweets |
| Condensed Milk | Quick Barfi, Payasam | 8-10% | Instant recipes |
Tip: Always heat milk slowly and keep stirring. Otherwise, it will stick or burn. For homemade khoya, a heavy-bottomed pan saves you from scrubbing later. And don’t forget, fresh paneer means fluffier, spongier rasgullas every time. If the milk splits too early or gets rubbery, your sweets won’t turn out well. So, patience is as important as milk itself!
Sugar: Friend, Foe, and Flavor Booster
It’s impossible to talk about Indian sweets without facing the sweet truth: sugar is everywhere. Sugar doesn’t just make mithai sweet—it’s the backbone of most recipes. But there’s so much more going on here. The type, amount, and even how you use sugar changes the final result.
White refined sugar is the go-to for most sweets like jalebi, rasgulla, and barfi. Brown sugar and jaggery (gur) pop up in regional classics like chikki and til laddoos, giving them that deep, caramelly taste. You’ll even find rock sugar (mishri) in some temple offerings, and palm sugar in South Indian payasam.
The really interesting part? Sugar is about texture as much as taste. It creates that gorgeous smoothness in peda, helps rasgulla puff up, and sets mithai like burfi into perfect slices. If you overcook it, you’ll get crystals and grainy sweets; undercook, and you might end up with a soupy mess. Trust me, I’ve been there—nothing more disappointing than lumpy barfi on Diwali!
Here’s a quick look at sugar types you’ll find in Indian sweets:
- White Sugar: Universal in most shop-bought mithai.
- Jaggery (Gur): More common in earthy, rustic sweets and winter desserts.
- Brown Sugar: Sometimes used for richness and color.
- Mishri (Rock Sugar): For prasad, sometimes for crunch.
Just for fun, check out this table to see how much sugar actually goes into some famous sweets:
| Mithai | Typical Sugar per 100g (grams) |
|---|---|
| Gulab Jamun | 39g |
| Rasgulla | 34g |
| Barfi | 37g |
| Laddoo | 36g |
One super useful tip: Always add sugar gradually when making milk-based sweets. Dumping it all at once can mess up textures, so go slow and taste as you go. And if you want to cut down on sugar for health reasons, you can swap in jaggery for a different vibe, but expect the texture and flavor to shift. Not worse, just different.
Hidden Players: Flour, Fats, and More
Milk gets most of the attention in Indian sweets, but some unsung ingredients play a big role in flavor and texture. Flip through mithai recipes, and you’ll notice flours, fats, and thickeners everywhere. Each one adds something special, and skipping them can totally change the outcome.
Let’s talk about flour first. Gram flour, called besan, pops up in laddoos, Mysore Pak, and boondi. Wheat flour (atta) is the base for sweets like Balushahi and famous halwas. Even rice flour finds its place—think of soft, chewy modaks at Ganesh Chaturthi. These flours give shape, soak up flavors, and create that melt-in-your-mouth bite.
Fats are next. Ghee is non-negotiable for traditional flavor and those tempting aromas wafting from a mithai shop. Ghee makes barfis fudge-like, crispies extra crunchy, and halwas shiny and rich. Some, like jalebi, swap in oil for deep frying, but trust me, ghee wins hands down for taste.
You'll spot other ingredients too—semolina (sooji) for a crumbly texture in rava laddoo, or coconut for a chewy twist in South Indian sweets. Even baking soda sneaks in, especially in Bengali rasgulla, to keep them soft and light.
Curious how often these hidden players show up? Here’s a little cheat-table from classic mithai recipes:
| Sweet Name | Main Flour/Fat | Frying or Not? |
|---|---|---|
| Besan Laddoo | Besan + Ghee | No |
| Jalebi | Maida + Oil | Yes |
| Mysore Pak | Besan + Ghee | No |
| Rava Laddoo | Sooji + Ghee | No |
| Modak | Rice Flour + Ghee/Coconut | Varies |
So next time you’re making mithai, don’t underestimate these behind-the-scenes ingredients. The right amount of besan or a spoonful of ghee can turn "just okay" into festival-level awesome. Your kitchen will smell better, too—just ask my daughter Nisha, who always sneaks in for a taste when the ghee hits the pan.
Tips to Nail the Perfect Mithai at Home
If you want your Indian sweets to taste like the ones from your favorite shop, there are a few things you need to get right. Honestly, I’ve had my share of lumpy burfi and soggy gulab jamun before figuring this out—the little details matter.
- Main ingredient quality: Always use full-fat, fresh milk. If you’re making khoya or paneer at home, don’t rush the boiling or curdling—it gives better texture and flavor.
- Sugar control: Don’t just dump sugar in at the start. For some mithai, it needs to go in after the mixture cools a bit, or as a syrup at the end. Otherwise, you get crystals—or worse, it stays gritty.
- Patience is key: Most mithai recipes need low and slow cooking. Turn up the heat, and you’ll get burnt bottoms or rubbery textures. Slow simmering lets the milk solids thicken just right.
- Keep an eye on moisture: Barfi and laddoo should set, not ooze. If your mix is still wet after cooling, you probably need to cook it a bit longer on the stove.
- Shape while warm: Mold your mithai while it’s just cool enough to handle—too hot and you’ll burn yourself, too cold and it’ll crack.
Want a quick reference? Here’s a handy chart I put together based on home trials and cookbook tips, so you can avoid my early mistakes:
| Mithai Type | Milk Used | Sugar Timing | Common Mistake | Fix |
|---|---|---|---|---|
| Barfi | Khoya or condensed | Last 5 min | Too soft, not setting | Cook longer to dry out |
| Rasgulla | Paneer/Chhena | As syrup | Chewy, hard balls | Knead paneer extra well |
| Gulab Jamun | Khoya + milk powder | As syrup | Raw centers | Fry on low heat, soak longer |
| Laddoo | Besan or milk solids | Mixed in while hot | Dough too crumbly | Add a bit more ghee |
The right tools help too—heavy-bottom pans, clean spatulas, and a little test-tasting as you go. Don’t hesitate to make a half-batch the first time you try a new recipe. You’ll pick up tricks suited to your own kitchen as you go. Next time you’re at a festival or family gathering, you’ll know exactly what went into those sweets, and maybe even how you could make them better!