Walk into any Indian kitchen, and you’ll hear people using “roti” and “chapati” like they mean exactly the same thing. Spoiler: they almost do, but not quite. If you’ve ever stood in the grocery store wondering which one to buy, or found yourself lost in a recipe blog, you’re not alone.
Roti is the kingpin term. It means round, unleavened flatbread—super simple: just whole wheat flour and water, rolled thin and cooked on a skillet. Chapati is a roti, but with a twist. The word “chapati” comes from how the dough is pressed or patted. Depending on where you grew up, you probably use the words interchangeably, but traditionally, chapati is a bit thinner and softer.
Knowing this little difference can actually help when you’re making them at home, especially if you want that soft, puffy bite instead of a drier, crisp edge. People often stress over the name, but trust me: once you see how each is made, you’ll get why the tiny details matter. Let’s dig deeper into how each bread gets its own vibe and how you can make both without breaking a sweat.
- What Actually Is Roti?
- Chapati: Not Just Another Word
- Key Differences in Dough and Cooking
- Regional Twists and Everyday Uses
- Tips for Perfect Homemade Flatbreads
What Actually Is Roti?
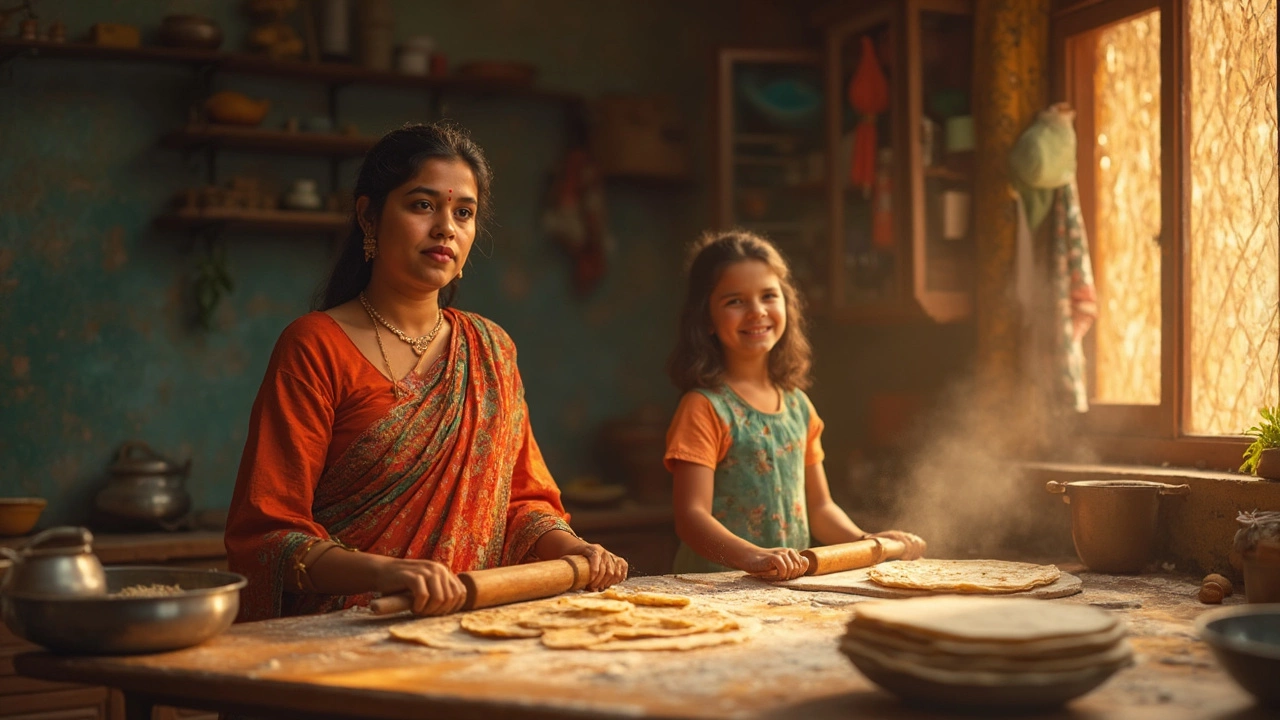
Roti is hands down the most common everyday bread in India, and it’s basically the foundation for any meal—breakfast, lunch, or dinner. At its simplest, roti is just a flatbread made from whole wheat flour (which most people call atta), mixed with water and sometimes a pinch of salt. That’s it. No yeast, no fancy starters, nothing extra.
To make roti, you combine the flour with water to make a soft dough. The trick is getting the dough smooth and just stretchy enough so it rolls out thin without tearing. Once the dough rests for about 10-15 minutes, you take small balls and roll them into circles, around 5–7 inches across. The perfect roti is thin and even all around—it shouldn’t be a lopsided pancake.
- Cook the rolled-out dough on a hot skillet (called a tawa).
- Let it cook until small brown spots appear, then flip it.
- It’s common to press the edges gently with a cloth so it puffs up as it cooks from the inside out.
- Some people finish it directly over an open flame for extra puff and a touch of smokiness.
Here’s the big myth-buster: roti doesn’t have to puff up to be right, but those air pockets sure make it fun to eat. Even without the perfect balloon, your roti should be soft and flexible so you can use it to pick up curry or dip into dal without breaking apart. Homemade roti is usually served hot off the stove, sometimes brushed with a tiny bit of ghee for extra flavor, but totally good plain too.
People often ask if there’s a difference between “roti” and other flatbreads. In reality, roti is the generic word—like saying “bread” in English. There are all kinds of rotis across India, but the base recipe is incredibly simple and hard to mess up if you just use a gentle hand and keep the dough soft.
Chapati: Not Just Another Word
So, is chapati just a stylish name for roti? Not really. Here’s where things get interesting. The term “chapati” comes straight from the Hindi word ‘chapat’, which means ‘to flatten by hand’. Long before rolling pins became standard, people shaped chapatis by patting the dough between their palms. That’s why old-school chapatis still have those smooth, rounded edges and feel extra soft.
What sets chapati apart is its texture and how it’s cooked. Traditional chapati is rolled out thinner than a regular roti and usually tossed over an open flame (on a wire rack if you’re in a hurry). This quick blast of heat makes it puff up like a balloon. It’s airy, and if you tear into one, you’ll see layers inside. Chapatis are almost always made with just two things: whole wheat flour (atta) and water. No oil, no salt, just good old dough. That keeps the taste clean and lets you pair it with any curry or sabzi.
- Chapati is thinner and softer than most rotis.
- Usually, it’s cooked directly over a flame to get that classic puff.
- It’s always made from whole wheat flour, giving it a nutty flavor.
- No oil or fat goes into the dough, so it’s lighter and simpler.
An interesting fact: In some Indian homes, how well your chapati puffs is almost a pride thing. The more your chapati balloons up, the more kitchen cred you earn! Whether you flatten it out by hand like grandma or use a rolling pin, nailing the technique is seriously satisfying.
So, next time someone hands you a chapati, notice how soft it feels and whether it’s got that signature puff. That’s what makes it more than just another name for chapati.
Key Differences in Dough and Cooking
This is where things actually get interesting for home cooks. Both roti and chapati start with whole wheat flour, called atta. But did you know that the texture of the dough and how you cook them can change the entire eating experience?
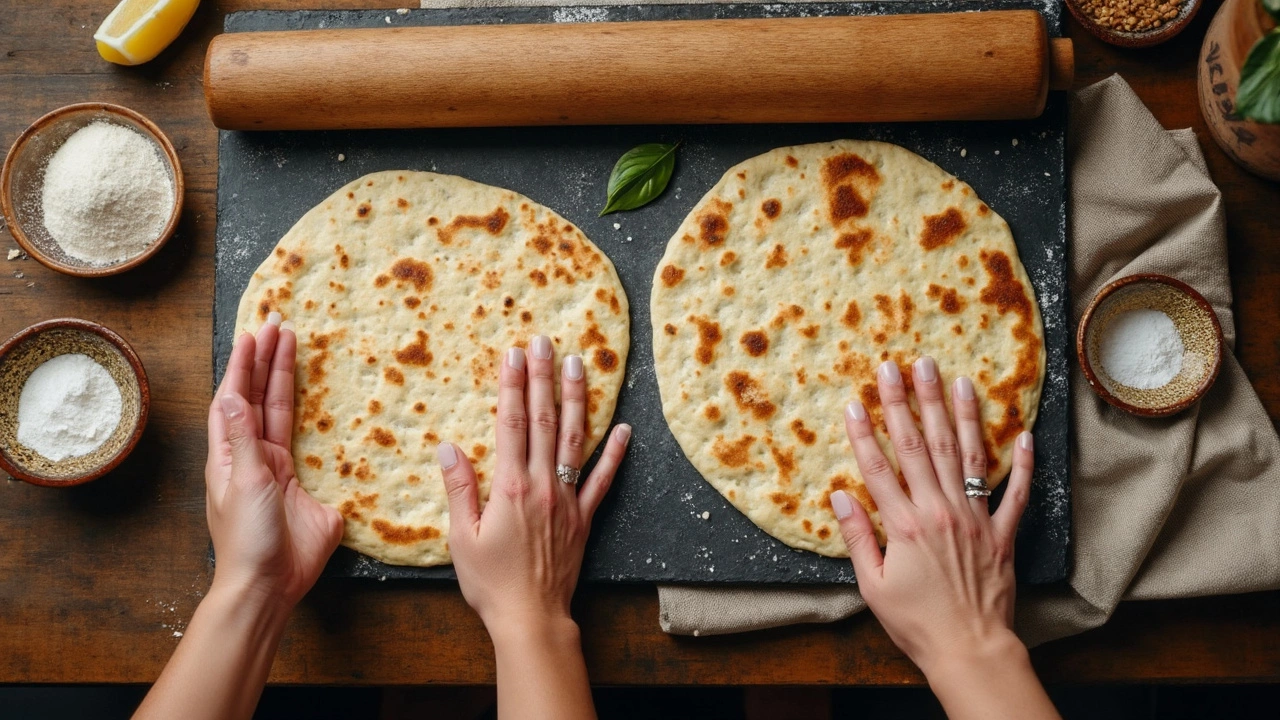
For classic Indian roti, the dough is a bit firmer. You use just enough water to bring it together—no oil, no salt needed. Roti dough shouldn't stick to your fingers much, and when you roll it out, it usually sits a little thicker. It’s cooked on a hot tava (flat griddle) and sometimes, right after, it goes straight onto an open flame so it puffs up like a little balloon. That puffed center? That’s pure magic if you love soft, layered bread.
Chapati, on the other hand, often gets a pinch of oil in the dough and is rolled out thinner. The dough is softer and a bit stickier. When cooked, chapati is usually lightly pressed on the tava with a cotton cloth or spatula—some people even clap it between their hands after cooking to keep it extra soft. The result is a tender, foldable bread perfect for scooping up veggies, dals, or even for rolling into lunchbox wraps.
Bread cookbook author Yamuna Devi once said, “The subtle touch in kneading and rolling is what sets a proper chapati apart from its rustic cousin, the roti.”
Here’s a quick breakdown of their differences:
| Feature | Roti | Chapati |
|---|---|---|
| Dough Texture | Firmer, less sticky | Softer, slightly sticky |
| Extras | Just water & flour | Sometimes oil or salt |
| Rolling Thickness | Medium, 2-3mm | Thin, 1-2mm |
| Cooking Method | On tava, sometimes finished on flame | On tava, pressed during cooking |
| Texture After Cooking | Puffy, can be slightly crisp edges | Softer, bendable, not crisp |
If you want soft flatbreads, let the dough rest for at least 10-15 minutes before rolling. Don’t skip this step! It makes the gluten relax and the bread way easier to handle. And here’s a bonus tip: use warm water for kneading if you want the chapatis even fluffier.
So, next time you’re in the kitchen, just tweak your dough or cooking process a little, and you’ll see—and taste—the difference right away.
Regional Twists and Everyday Uses
There’s no “one size fits all” when it comes to roti or chapati. In North India, you’ll mostly find chapatis served soft and puffy, sometimes finished right on a flame for that perfect char and quick inflation. In places like Gujarat, people roll them even thinner and call them phulka. They’ll brush them with ghee or oil as soon as they come off the pan—makes every bite melt in your mouth.
Head to Maharashtra, and rotis get a little thicker. Bajra or jowar rotis (made from millet or sorghum) are a big staple there, offering a nuttier taste and a good dose of extra fiber. In Punjab, you might find makki di roti—corn flatbreads—paired with spicy saag in winter. Down South, the word “roti” can also mean completely different breads (like roomali roti) that are so thin, you can almost see through them, and they’re folded up like handkerchiefs at restaurants.
In everyday life, these flatbreads are the heart of the meal. People use them to scoop up dals, curries, and sabzis—no forks needed. School lunchboxes often carry tiny rolled chapatis wrapped around a quick veggie filling, kind of like a homemade wrap. Many households make extra in the morning to eat with leftover curry in the evening; rotis keep pretty well if you store them in a cloth or air-tight box.
Here are a few tips for nailing the regional favorites every time:
- For fluffy North Indian-style chapatis: use warm water for kneading, and cook on a really hot tawa (skillet).
- If you like the thicker Maharashtrian or Punjabi style, press them less while rolling so they stay tender inside.
- Love street food? Try slathering fresh roti with butter and rolling it up for a quick snack.
- To make millet or jowar rotis, add some warm water and knead quickly—they tend to dry out fast.
- Store leftovers wrapped and refrigerated—quick reheat on a hot pan, and they’re as good as new.
Tradition and convenience both shape how families make and eat these flatbreads. Try a few versions to see what fits your style and your dinner plans best.
Tips for Perfect Homemade Flatbreads
If you want soft, tasty flatbreads every time, getting the basics right makes all the difference. It’s not hard, but a few small tweaks can send your chapatis and roti from just okay to restaurant-worthy.
- Use fresh atta (whole wheat flour): The fresher the flour, the softer your flatbreads. Stale flour doesn’t let the dough puff up nicely or taste as good.
- Add water slowly: Pour a little water at a time as you knead. The dough should feel soft and a bit sticky—but not so wet it sticks to your hands. If it’s too dry, your bread will be tough. Too wet, and it’ll stick everywhere.
- Knead it well: Don’t rush this part. Knead for at least 5 minutes. The dough turns smooth and stretchy, and this helps your flatbreads puff up as they cook.
- Let it rest: Cover the dough and let it sit for 15–30 minutes. This makes rolling way easier, and you’ll see a big improvement in the texture.
- Keep an even thickness: When rolling, aim for thin, even circles. If one side’s too thick, it won’t cook right or puff up.
- Hot skillet or tawa: Flatbreads need quick heat. If your skillet isn’t hot enough, they dry out and get chewy. You want some brown spots and a bit of puff.
- Flip just twice: Place the rolled dough on the hot skillet, wait for bubbles to appear, and flip. Give it another 10–15 seconds on the other side, then flip once more so it puffs up. That’s enough—flipping too much makes them hard.
- Steam for softness: Stack finished flatbreads in a covered container or wrap them in a clean towel to trap steam. This keeps them soft until you eat.
If you’re after extra flavor and softness, you can brush the hot breads with a little ghee, but this part’s totally up to you. The real trick is practice—once you’ve made a few, you’ll figure out what works best in your own kitchen. Don’t get frustrated if your first few aren’t perfect. Even slightly wonky roti or chapati taste better homemade!