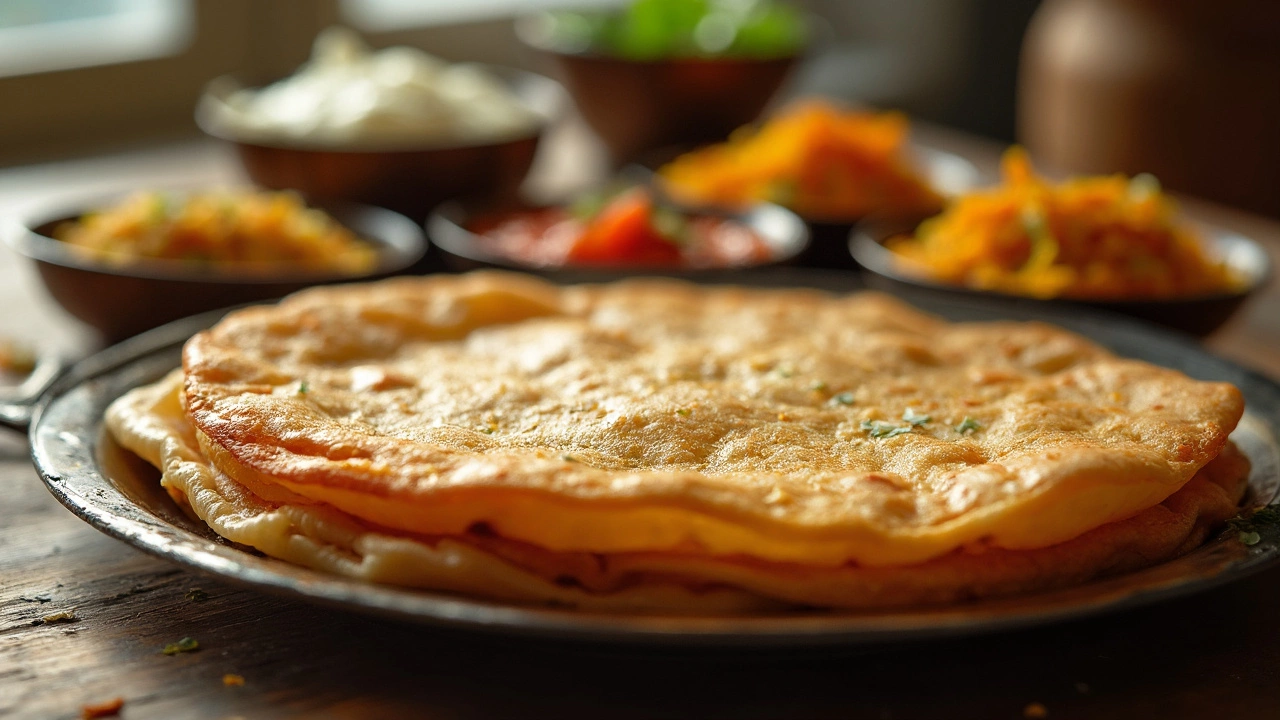
Ever stood over the stove, frustrated by flour clouds, only to end up with rotis that feel more like frisbees than the soft, fluffy flatbreads they should be? Don’t worry, it’s a problem many people face, but the solution is closer than you think. Let’s break it down, step by step, so your next batch of rotis will make you the envy of every dinner table.
Start with the basics: flour. You want to use whole wheat flour, often called atta, for this task. It’s essential to pick a good quality one, as not all flours are created equal when it comes to making dewy-soft rotis. Got the right flour? Great! Now, add a pinch of salt and a splash of oil or ghee for that extra richness in flavor, not to mention helping in softening the texture.
Okay, now onto the fun part: kneading. Did you know that the texture of your dough can make or break your roti game? Kneading isn’t just about mixing the ingredients; it’s about developing gluten, which gives your rotis the soft chewiness everyone loves. Aim for a dough that’s smooth, not sticky. Feel it with your fingers; it shouldn’t cling to your hands but should be soft like putty. This stage is crucial, so a little patience here goes a long way.
The Right Ingredients
So, what's in these soft rotis anyway? It all starts with picking the right flour, known as atta in many Indian households. Made from whole wheat, atta gives rotis their characteristic taste and softness. The protein content in your flour matters a lot, as it affects gluten development. You want to aim for flour with a protein content of 10-12%. Check your package or reach out to the manufacturer if it's not listed.
Roti making tips often mention the importance of freshness. Whole wheat flour, unlike white flour, can go rancid faster because of its natural oils. Make sure your atta is really fresh, ideally within six months from purchase. It keeps everything tasting as it should.
A easy tweak that makes a big difference is using lukewarm water when mixing your dough. Warm water helps activate the gluten and makes the dough pliable. Add a smidge of oil or ghee to make them richer and softer. Finally, don’t forget the salt for flavor! A small pinch goes a long way.
According to chef Sanjeev Kapoor, a famous Indian culinary expert,
"A good roti should puff up on the pan and be soft enough to fold in half without breaking."It’s all about the fine balance of these ingredients coming together.
Oh, and speaking of balance, don’t overdo it on the water. You’re aiming for a smooth, pliable dough. Too much water can make it sticky, while too little will leave it dry. Find that happy medium, and you’re golden!
The Perfect Knead
The magic of a soft roti starts with kneading the dough just right. It might seem like a simple task at first glance, but this step can significantly change how your rotis turn out. Want soft and pliable dough? Let’s nail down the perfect technique.
First things first, incorporating water gradually is crucial. If you dump all the water in at once, you might end up with a sticky mess. Start with about one part water to two parts flour and add more as needed. The goal is to achieve a soft but not overly sticky dough.
Now, roll up your sleeves and start kneading. Use the heel of your palm to stretch and fold the dough. This action helps develop gluten, which gives your rotis that lovely soft texture you're aiming for. You’ll want to knead for about 8-10 minutes until the dough becomes smooth and elastic.
A little tip: Once kneaded, let your dough rest for at least 15-30 minutes. Resting allows the gluten to relax, making your rotis softer and more manageable to roll out. Remember, this wait is what often turns average rotis into soft rotis that melt in your mouth.
So, next time you’re making rotis, dedicate a few extra minutes to the kneading process. Your tastebuds will thank you!

Resting and Rolling
Once you’ve kneaded your dough to perfection, it’s time to let it take a breather. Resting the dough is a small but crucial step in making soft rotis. This gives the gluten time to relax, which leads to easier rolling and softer end results. Aim to rest your dough for at least 20 to 30 minutes, covered with a damp cloth to prevent it from drying out.
After resting, it’s all about the art of rolling. If you’ve ever wondered why your rotis aren’t puffing up or are too chewy, rolling could be the issue. The trick is to roll the dough evenly without applying too much pressure. Start by pinching off a small ball of dough, about the size of a golf ball, and lightly dust it with flour.
Now, grab your rolling pin and get ready to roll out a circle. Keep applying gentle pressure from the center outwards. Imagine you’re coaxing the dough, not attacking it. The goal is to get an even thickness all around, roughly 2-3mm thick. Consistency here is key because unevenly rolled rotis might cook unevenly, resulting in hard spots.
Let’s talk about size—your rotis don’t have to be gigantic to be delicious. Aim for a diameter of about 5-6 inches. Keep your surface and rolling pin lightly floured to prevent sticking, but don’t go overboard, or you might end up with dry rotis.
Remember, a heavy hand will make your rotis dense. Light and even is the way to go, and practice makes perfect. Get the resting and rolling down just right, and you’re more than halfway to enjoying perfectly soft rotis each time.
Cooking Techniques
Alright, you've kneaded your dough to perfection, and it's time to cook those soft rotis. How you cook them can make all the difference. Let’s get those heating techniques perfect so your rotis can puff up like a hot air balloon!
First, preheat your tava (flat skillet) until it's hot. A key trick is to sprinkle a few drops of water on the tava; if they sizzle and evaporate right away, you're good to go. This ensures that the roti cooks evenly from the start, giving you that sought-after softness.
Now, place the rolled dough onto the tava. Watch for bubbles to form on the surface, which should happen in about 10-15 seconds. Flip it over with a spatula as soon as you notice those bubbles. This might sound surprising, but flipping early on is crucial to prevent the base from cooking too long and hardening.
Once flipped, let it cook for another 30 seconds. Now comes the magic part: lightly press the edges with a cloth or spatula. This helps the hot air circulate and the roti to puff up nicely—sort of like a pillow! If it puffs up well, it's a sign your dough was right, and the tava's temperature is just perfect.
Remember, keeping the heat constant is key. Too low, and the roti turns hard; too high, and it can burn before it cooks through. Finding the sweet spot takes a bit of practice, and a tad bit of tweaking might be needed based on your stove and pan.
Finally, right after removing each roti from the heat, consider placing it in a clean cloth (a tea towel works great) and cover it. This helps retain moisture, ensuring each roti stays warm and inviting until you’re ready to serve.
